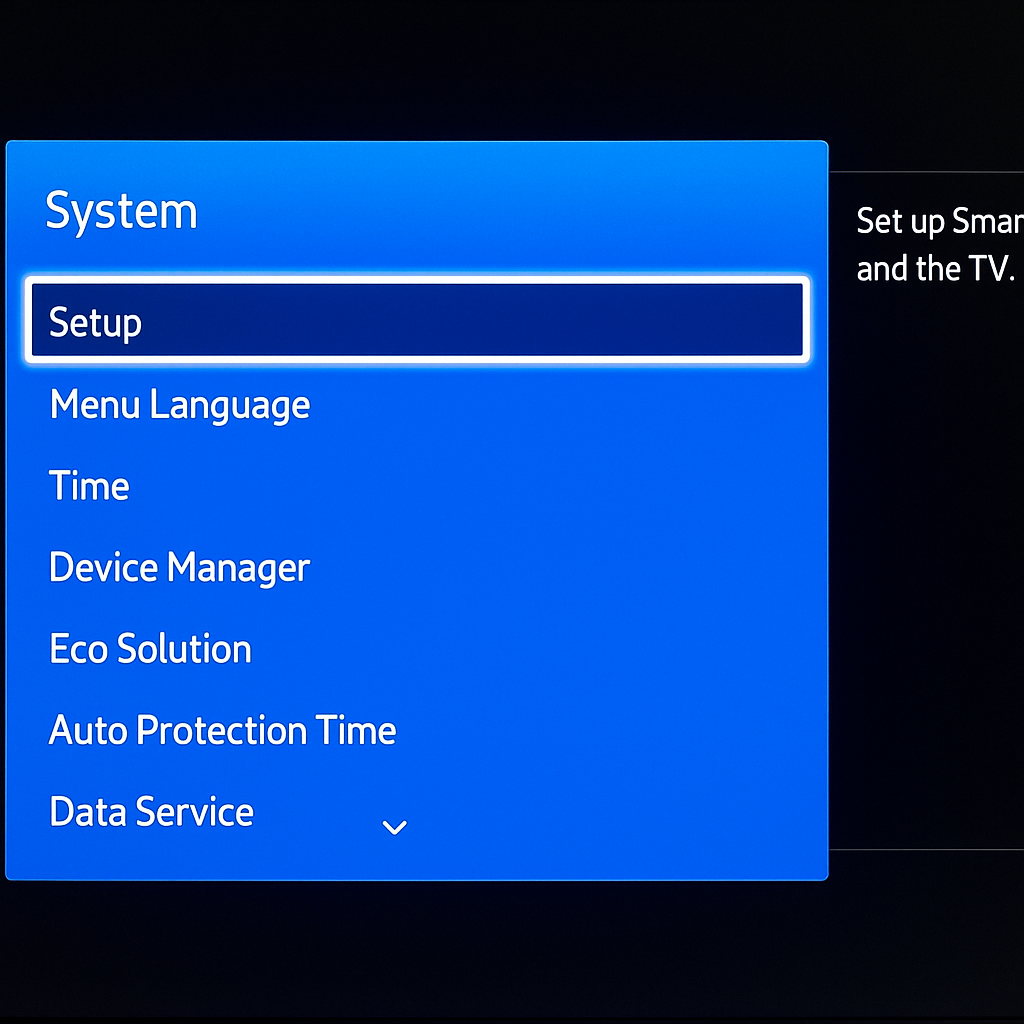
This topic provides step-by-step instructions for installing and configuring a smart hub, which serves as the central controller for managing connected IoT devices in a smart environment.

Before setup, check the smart hub’s compatibility with your Wi-Fi band (2.4 GHz vs. 5 GHz) and ensure your connected devices support the same communication protocols (e.g., Zigbee, Z-Wave).
Required Accessories:
- Power adapter (included)
- Ethernet cable (optional, depending on hub model)
- Smartphone or tablet with internet access
- Mobile app (available via iOS or Android app stores)
-
Unbox the Smart Hub
Remove the smart hub, power adapter, and user manual from the packaging.
-
Connect to Power
Plug the smart hub into a wall outlet using the provided power adapter. Wait for the device to power on fully.
-
Connect to the Internet
Use an Ethernet cable to connect the smart hub to your router, or follow wireless setup instructions if the hub supports Wi-Fi.
-
Download the Companion App
Install the manufacturer’s mobile app on your smartphone or tablet. This app will be used to manage hub settings and devices.
-
Create or Log In to Your Account
Open the app and sign in using your existing account or create a new one if required.
-
Pair the Smart Hub
Follow the in-app instructions to detect and register the smart hub to your account.
-
Add IoT Devices
Start pairing your smart lights, thermostats, sensors, and other IoT devices through the app’s device-adding wizard.
-
Test Connectivity
Ensure each connected device responds properly to commands issued from the app or hub interface
